
Last updated November 21, 2026
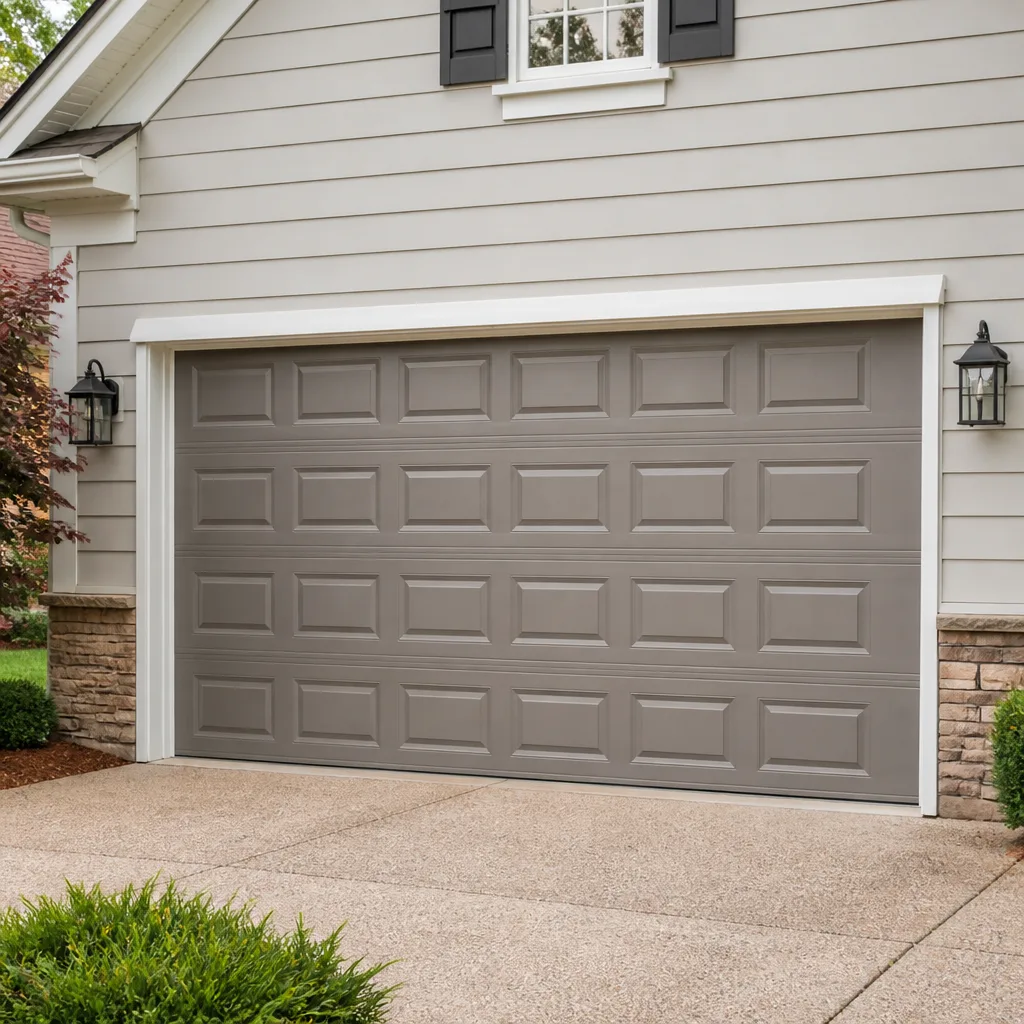 Raised-panel steel
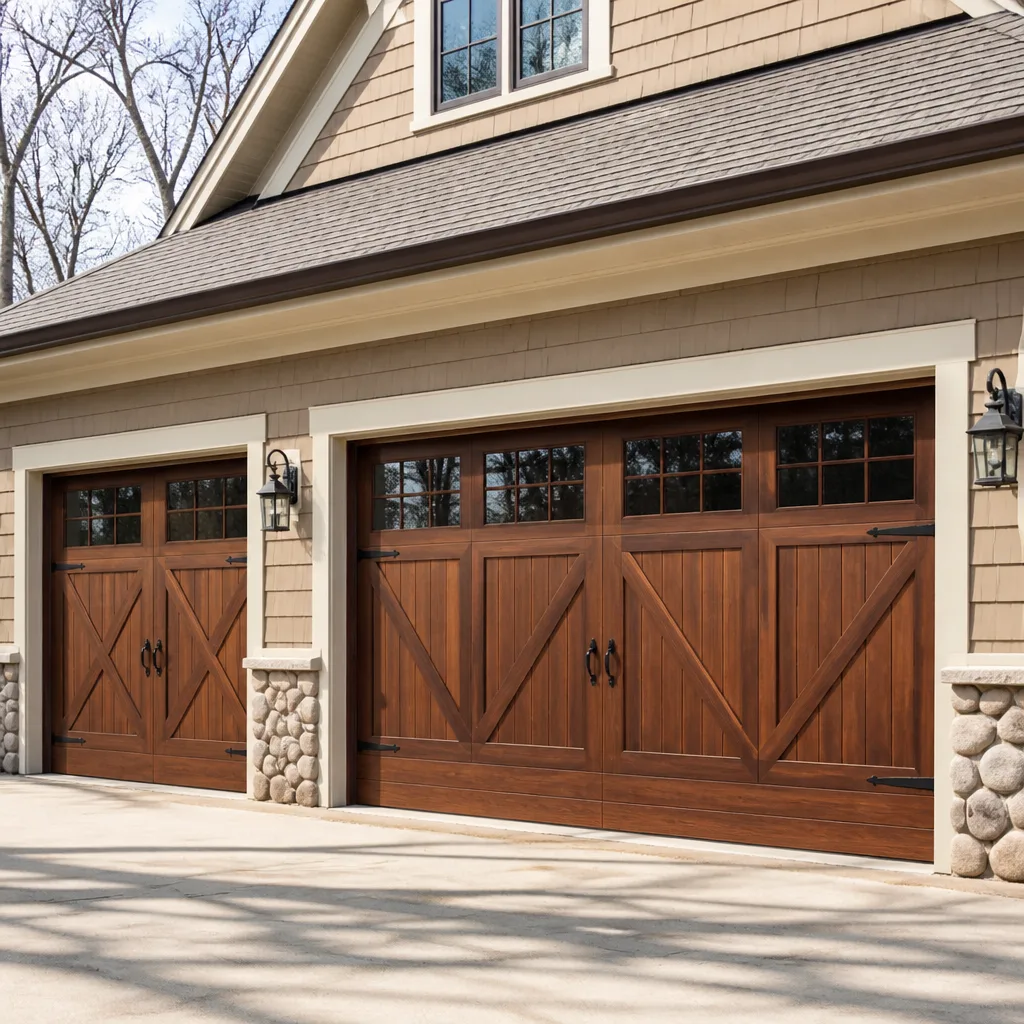 Carriage house
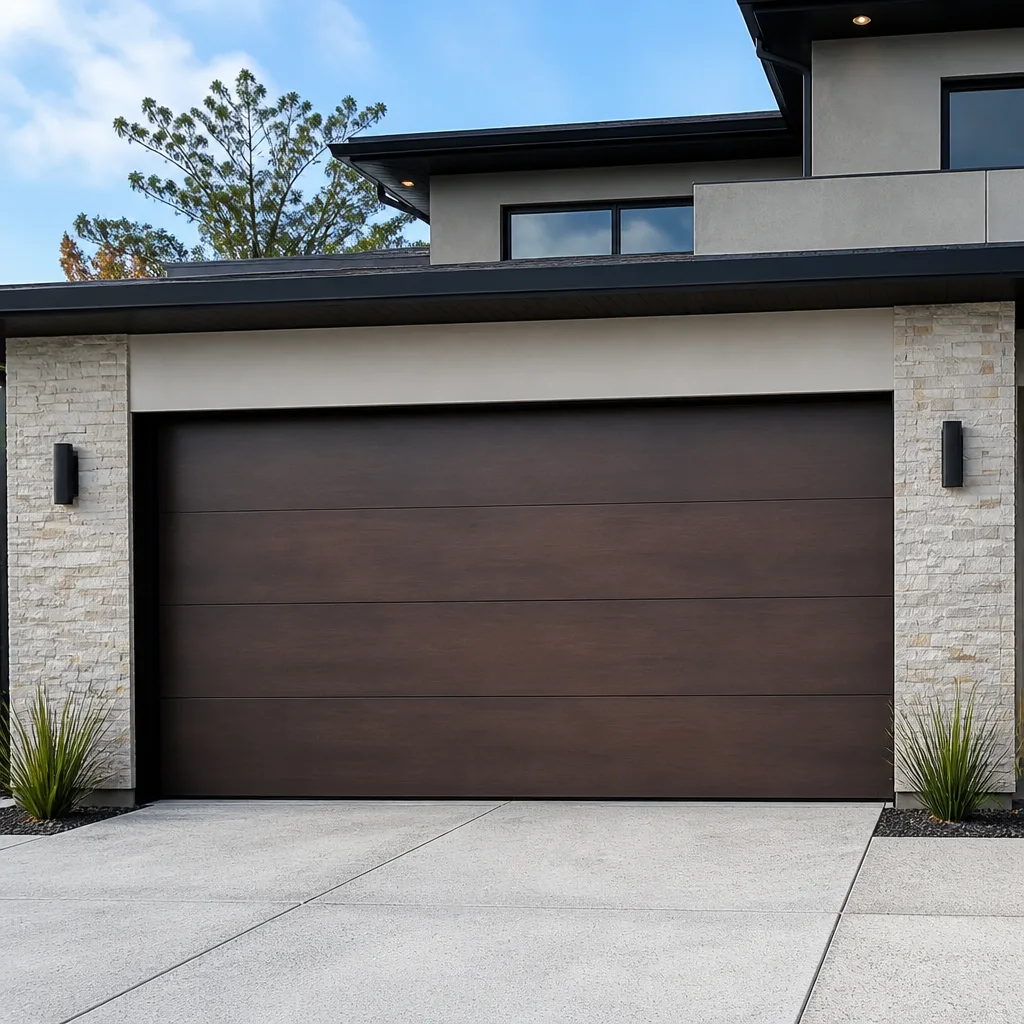 Modern flush
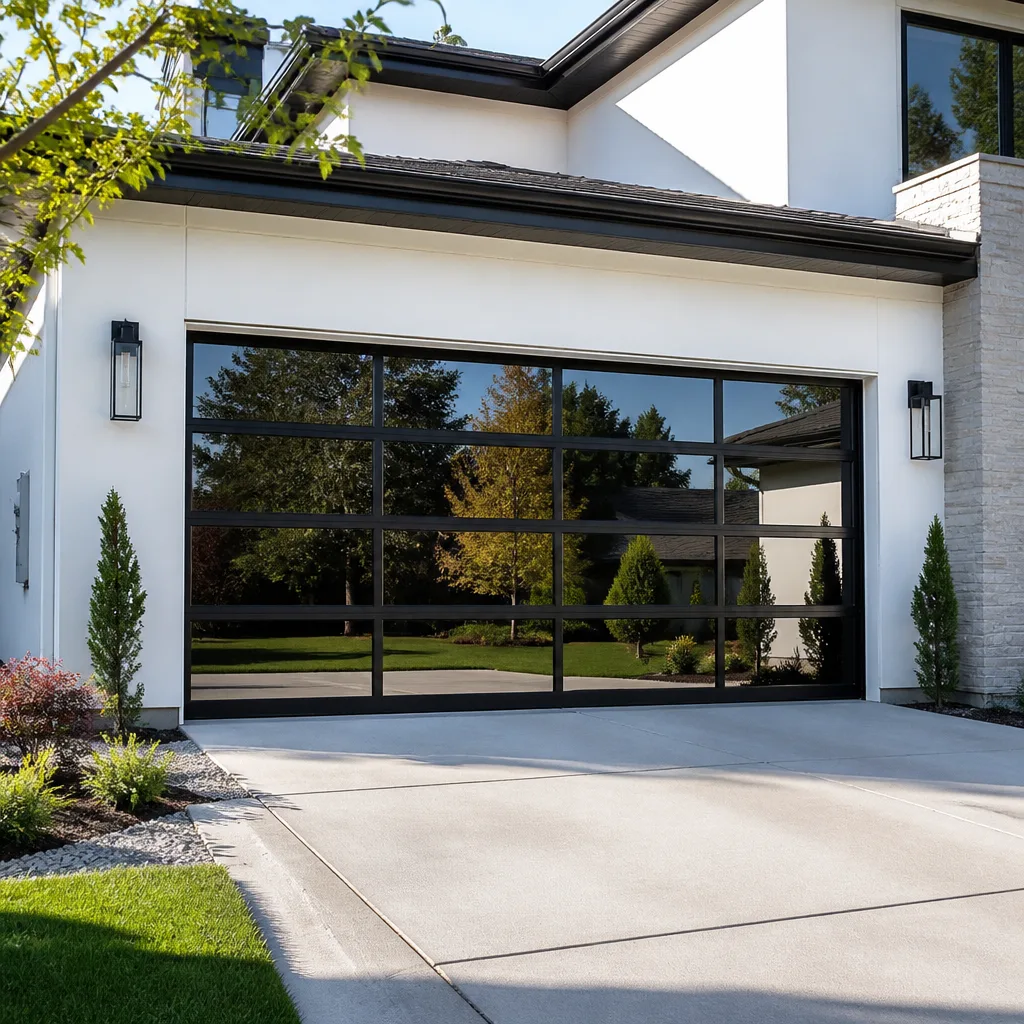 Full-view glass
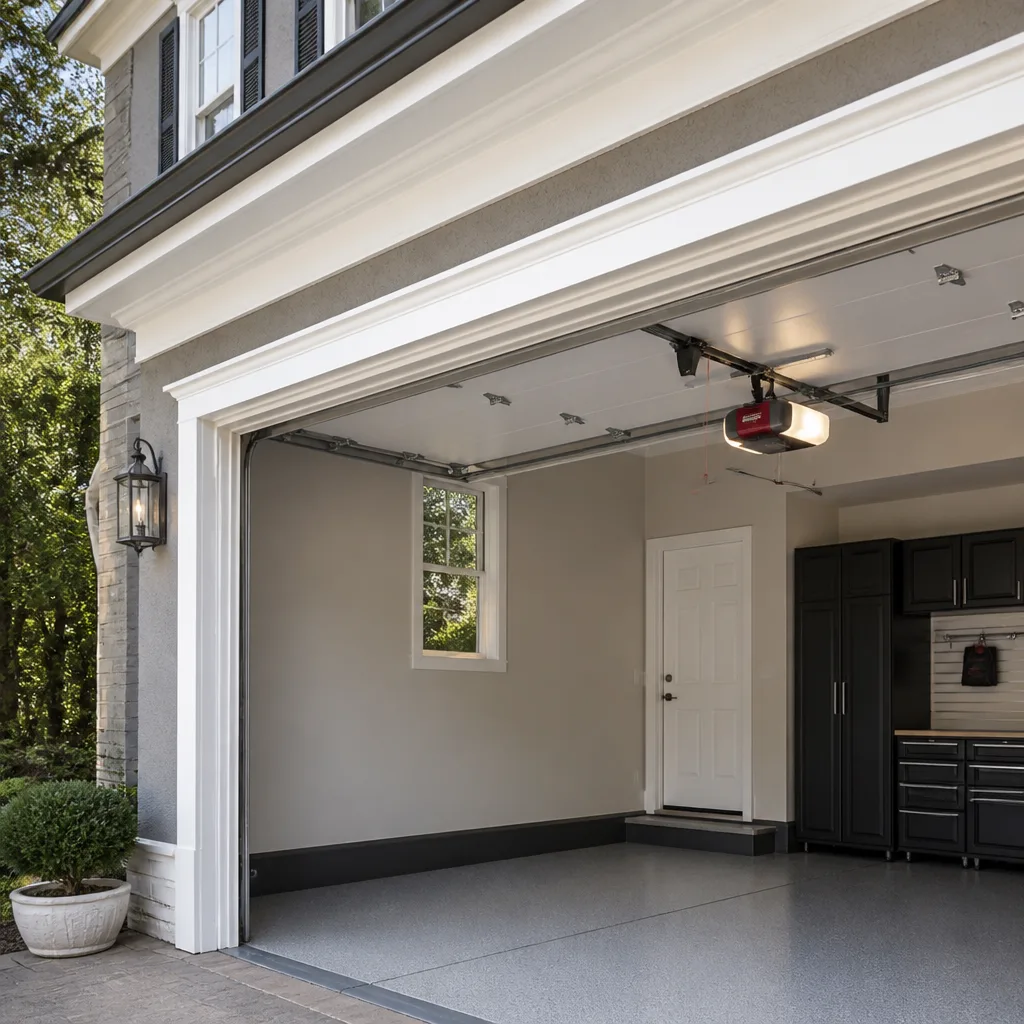 LiftMaster openers
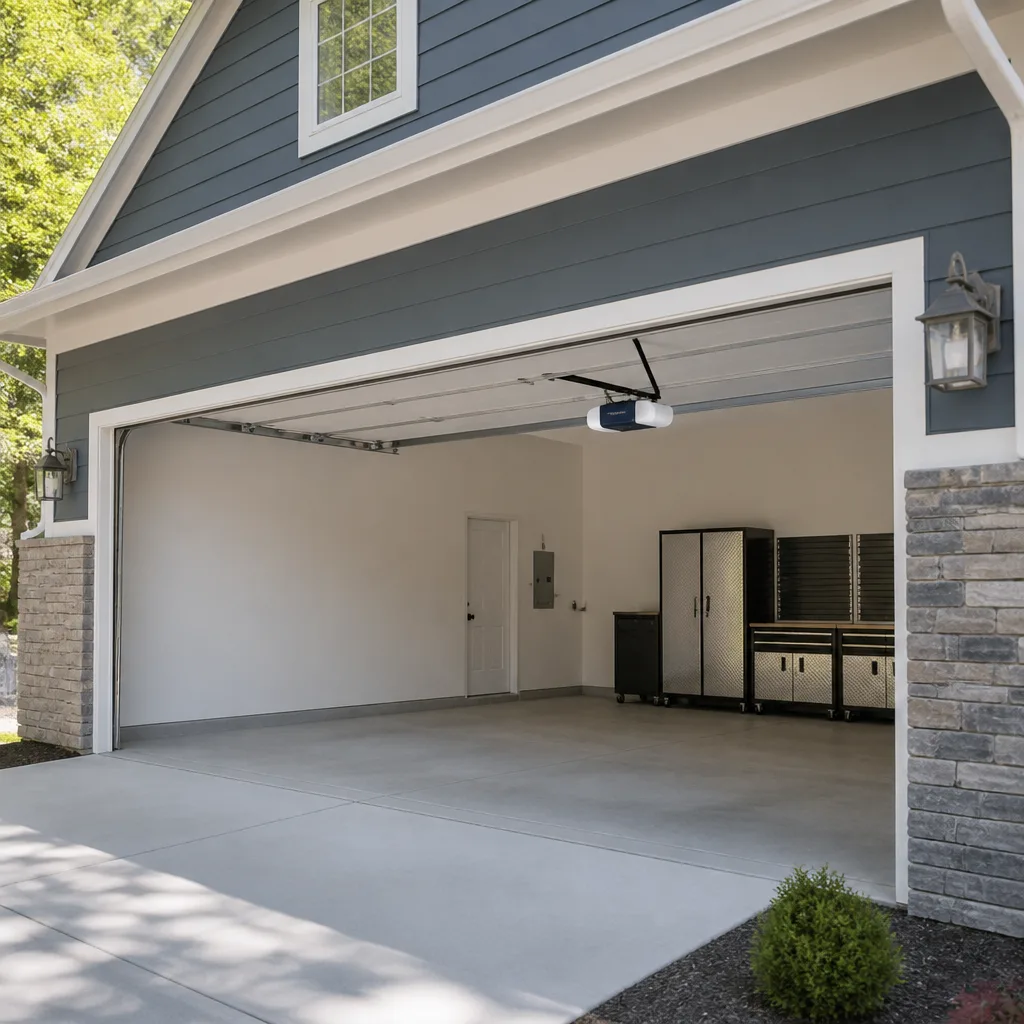 Chamberlain openers
Full 25-point door and opener safety check with every visit - springs, cables, rollers, tracks, and your LiftMaster or Chamberlain opener included
You get a price before we start. It does not change when the pro arrives.
Get your free estimateGarage Door Repair Maintenance Checklist for Brick Township Homeowners
Telling a homeowner to “lubricate the springs twice a year” is useless without telling them what lubricant, how much, and what a worn coil actually looks like. That advice gets followed once, badly, and then forgotten. Generic checklists mostly do harm because they create false confidence. You walk out, glance at the door, decide it looks fine, and miss the cable that’s down to three strands or the gap at the bottom of the panel that’s letting rainwater sit on the threshold. This guide goes the other way. Every item below has a number, a symptom you can see, or a test you can run in under five minutes. You’ll learn how to separate the jobs worth doing yourself from the ones that cost fingers. We work on garages in Brick Township every week, and the failure patterns repeat.
Quick Answer
A garage door maintenance checklist has three tiers: monthly safety checks you can do in five minutes (photo-eye alignment, auto-reverse test, balance test), twice-yearly lubrication and hardware inspection, and once-a-year professional evaluation of springs, cables, and the opener’s drive system. In Brick Township, the two conditions that wear doors fastest are temperature swings and the moisture that hangs in the air in the parts of the township closer to the water. Most of a checklist is DIY-safe. The spring, cable, and drum assembly is not, and that part is where real failures live.
Styles & brands we work with
- Raised-panel steel
- Carriage house
- Modern flush
- Full-view glass
- LiftMaster openers
- Chamberlain openers
Table of Contents
- What Actually Wears Out on a Brick Township Garage Door
- The Exact Lubrication Spec (and What Not to Spray)
- How to Test a Torsion or Extension Spring for Fatigue
- Cable and Drum Inspection: What Fraying Actually Looks Like
- Roller and Hinge Wear: Measurable Indicators
- The Safety Tests Most Homeowners Skip (2×4, No Tools)
- A Seasonal Schedule Built Around Brick Township Weather
- Which Checklist Items Are DIY-Safe and Which Aren’t
What Actually Wears Out on a Brick Township Garage Door
Doors don’t fail evenly. In our experience, the wear concentrates in five places, and each one has a different clock on it. Knowing the clock is the whole point of a checklist.
Springs carry the entire weight of the door, typically a few hundred pounds on a standard two-car door, and they cycle every time you open and close. Torsion springs live on the shaft above the door; extension springs run alongside the tracks. Both fatigue gradually before they break, and the fatigue is measurable by counting cycles and watching the door’s behavior. A door that suddenly feels heavier, or won’t stay up when you lift it halfway by hand, is telling you the springs are tired.
Cables run from the bottom bracket to the drum. They’re under constant tension and they fray from the inside out, which is why a cable can look fine at a glance and be one strand from letting go. This is a legitimate safety part of the checklist. A snapped cable on a door with a working spring can let the door drop.
Rollers ride in the track and take the lateral load. Steel rollers with no bearings seize and start grinding the track. Nylon rollers wear flat on one side and make the door wobble.
Hinges at each panel joint loosen, and the bottom hinge takes the most load because it holds the bottom bracket and part of the cable assembly.
Weather seals at the bottom and sides keep water and cold air out. This is the item Brick Township homeowners should watch more than most, because moisture is the local enemy. The township spans a lot of ground, and the sections closer to the water sit in damper air than the inland neighborhoods off Route 70 or near the Brick municipal complex. A bottom seal that’s cracked and sitting on a wet slab wicks water under the panel and into the framing.
The overall picture: everything above is worth inspecting on a schedule, but the top three items fail with consequences, and the bottom two fail with drafts and water. The checklist should reflect that difference.
The Exact Lubrication Spec (and What Not to Spray)
Lubrication is the item most often done wrong, and the damage from a bad spray is real. Here’s the rule to start with: every surface you lubricate on a garage door wants a lithium grease or a dedicated garage door lubricant, not a general-purpose penetrating spray. The consumer standby, WD-40 in the blue and yellow can, is a solvent with light oil. It cleans, it displaces moisture, but it’s the wrong product as a long-term lubricant. It thins out, runs off, and can wash away the heavier grease that’s actually doing the work. Spray it on a hinge and you’ve dissolved the grease that was there. Use the right product.
Here’s the component-by-component spec:
- Torsion springs want a heavy, tacky lubricant, sometimes sold as spring grease. Apply a thin coat along the coil. You’re not soaking the spring; you’re reducing friction between coils as they wind and unwind.
- Extension springs (if your door has them) get a light grease on the coils, but not on the cable running through the center of them.
- Rollers need grease on the bearing, not the wheel. Steel rollers with sealed bearings get a couple of drops at the bearing housing. Nylon rollers usually need nothing; grease on the plastic just attracts grit.
- Hinges take grease at the pivot point, one or two small drops. Enough that you see it move, not enough to drip onto the panel below.
- The track itself gets a clean rag and no grease. Grease in the track collects dust and makes the door sticky. Wipe it clean; that’s the whole job.
- The opener rail and chain want a light chain and cable lubricant, applied sparingly.
Frequency: twice a year is right for most doors. Once with the season change in spring, once in fall. If your door cycles a lot (a family coming and going all day), add one. If you’re in the parts of Brick Township where the air stays damp, the grease on the hinges will need refreshing more often because it picks up moisture.
Two things to know before you spray. First, don’t over-lubricate springs. Excess grease attracts grit and can actually increase wear between the coils. Second, never put anything on the photo-eye lenses; those need to stay clean and clear. Lubrication is on the DIY side of this checklist, and it pays you back in quieter operation and longer roller life. It does not fix a tired spring, though, and no amount of grease will. If the door feels heavy, see the next section.
How to Test a Torsion or Extension Spring for Fatigue
Springs are the one part of a garage door where “it looks fine” is a genuinely dangerous conclusion. Springs don’t fail politely, and the coil is under enough tension to do serious injury if it lets go. We handle them as a dedicated service for exactly that reason. But you can test for fatigue without touching the spring itself. That test is safe and it tells you what a visual glance cannot.
Here’s the method, in order:
- Disconnect the opener by pulling the manual release handle, so the door is on its springs only.
- Lift the door halfway by hand and stop it around waist height.
- Let go. A door with healthy springs should hang roughly there. If it drops, the springs are losing tension. If it rises, they’re overtightened or something else is off. Either way, it’s a call.
- Lift the door the rest of the way and lower it with light pressure on the handle. If it takes real effort to raise, the springs are fatigued.
- Look at the coils with the door closed. Torsion springs should look even; a spring that has noticeably separated coils at one end, or a gap where the coils don’t touch, is telling you it’s losing tension. A torsion spring that has snapped usually shows an obvious separation, and the door will hang crooked. On extension springs, look at the spring along its working length; a spring that sits slack or has lost its shape is tired. Check the safety cables that run through each extension spring and confirm they’re intact, because those cables are what should catch a broken spring.
What you’re checking against is spring life. Springs are rated in cycles, and a standard residential spring is often rated around 10,000 cycles. A family that uses the door four times a day, seven days a week, runs through a good chunk of that in a few years. The exact rating depends on the spring, but the point is that spring life is finite and it’s counted in cycles, not years. So the number on the calendar is a guess; the effort test above is the truth.
What you must not do is try to loosen, rewind, or “adjust” a torsion spring. The energy stored in a wound torsion spring is dangerous, and the winding bars that release it are a professional tool. Extension springs are less catastrophic but still dangerous, because if one lets go it flies toward the top of the track. That’s what the safety cables are for. The force test above tells you whether to call. garage door spring repair is where we can deal with the actual fix safely, and the price is quoted before any work starts.
Cable and Drum Inspection: What Fraying Actually Looks Like
Cable wear is the most misread item on any maintenance checklist, because a cable that’s failing doesn’t look broken. It looks mostly fine. The fray starts as a few broken strands, and broken strands hide inside the loop or against the drum.
Here’s what to actually look at:
- Run your eyes the full length of each cable from the bottom bracket up to the drum. Look for a fuzzy spot, a kink, or a place where the cable looks brighter and tighter than the rest. Bright, thin, and tight is what a frayed section looks like.
- Check the ends at the drum and the bottom bracket. Loose or dry-looking hardware at either end is a warning sign.
- Look for rust staining on the cable or the drum. Rust tells you moisture has been sitting there, and a rusty cable loses capacity.
- Check for slack. A loose cable means the spring tension on that side is off, or the drum has lost its grip. Slack is a call.
- Look for a cable that’s jumped the drum. If the wraps on the drum are uneven or the cable is riding over the edge, stop using the door.
Cables fray, and when a single cable on a two-cable door is replaced alone, the spring may be off and the door crooked. A matched pair is typically replaced together. That’s a mechanic’s judgment, not a homeowner one, and it’s another item on the “don’t touch” side of this list. The mechanical weight on a cable is the whole weight of the door, and a cable that snaps under load does damage to more than itself.
The drum and the bottom bracket that anchor the cable are also loaded. If you see rust on either, or the bracket is bent, don’t operate the door. If a drum is warped or the cable is visibly off its groove, that’s a stop-use-right-now situation.
Roller and Hinge Wear: Measurable Indicators
This is where a checklist can go from vague to useful. Rollers and hinges wear in ways you can measure, not just eyeball.
Rollers. Walk to the side of the door and look straight at each roller in its hinge. What you’re looking for:
- A flat spot on the wheel. Spin it; if it wobbles or catches, it’s worn.
- A broken or missing bearing. A loose roller that rattles when you wiggle it by hand is done.
- Visible wobble in the track as the door moves. Watch the door while the opener is running. If the door shimmies, one or more rollers has play.
- Steel rollers with no grease in the bearing, which show up as squealing or grinding.
A seizing steel roller will force itself against the track and start to wear the track’s shape. That’s a small part taking a big part down with it. Nylon rollers wear flat on one side and thump as they pass that flat. Both types are cheap to replace and worth replacing as a set when they’re worn. If one is worn, the others are usually not far behind.
Hinges. Wiggle each hinge at its pivot. Some play is normal; visible looseness or a hinge that groans is not. The bottom hinge deserves special attention because it carries the bottom bracket. Look for cracks, elongated screw holes, or a hinge that’s pulled away from the panel. A hinge that’s barely hanging on is how a door panel gets damaged. Loose weather seals and a dry, cracked bottom seal are the other easy wins on this part of the checklist. In Brick Township’s climate, a bottom seal that’s cracked and holding water on the threshold is worth replacing before the wood underneath starts to suffer.
The Safety Tests Most Homeowners Skip (2×4, No Tools)
Two tests cover the two safety systems that keep a closing door from hurting someone: the auto-reverse force setting and the photo-eye safety beam. Both are simple, both are testable with no tools, and both are skipped by nearly everyone. Run them monthly.
The 2×4 auto-reverse test. You need a piece of 2×4 lumber laid flat on the floor where the door closes, or any object that’ll act as a solid obstruction. It’s best done with a second person helping, one at the opener controls, so nobody has to move quickly underneath the door. Then:
- Lay the 2×4 flat in the middle of the doorway, on the concrete where the door meets the floor.
- Close the door using the opener.
- Watch what happens when the door reaches the board. It should contact the board, stop, and reverse back up. If it keeps pushing down, or stops without reversing, the force setting on the opener is set too high, or faulty, and needs attention.
- Repeat the test at different points across the doorway width, because a door that reverses on one side but not the other is telling you something about the balance.
The photo-eye test. The photo-eye lenses sit at the bottom of each track, one on each side, and the door uses an invisible light beam between them to detect an obstruction. With the door open and the opener powered, find the lenses and check:
- Are they aligned? Look at both lenses. Many have a small indicator light that tells you the beam is intact. If the light is dark or blinking, the beam is broken.
- Are the lenses clean? A dribble of grease, a cobweb, or a smear of road dust can blank the sensor. Clean them with a dry cloth first.
- Do they actually stop the door? Prop something solid in front of one lens. Then close the door; it should reverse immediately. If it doesn’t, the door is running blind.
- Is the bracket loose? Push gently on each lens; if it moves, the alignment is only a matter of time before it drifts out.
The force test and the light beam are the two things standing between a closing door and a person. They’re also the two things every generic checklist lists as “check the safety reverse” without telling you how. The 2×4 tells you. If either test fails, the door shouldn’t be operated until it’s fixed. Call us and we can get it looked at; the price is quoted before any work starts.
A Seasonal Schedule Built Around Brick Township Weather
Brick Township is not one climate. The sections closer to the water sit in damper, salt-laden air, and the inland stretches toward Route 70 and the western edge of town run drier and hotter in summer. A checklist that ignores the difference is a checklist that misses the local failure modes.
A practical schedule for most Brick Township homes:
- Spring check (once the weather warms): full lubrication pass, spring fatigue test, safety reverse and photo-eye tests, and a visual on cables. The wet season is when you’ll most notice a cracked bottom seal holding water, so check it now.
- Summer (monthly, quick): the two safety tests. That’s the whole job; five minutes. Heat is hard on aging seals and the grease on your rollers, and it’s the season the door runs the most.
- Fall (before the cold arrives): relubricate, because the grease you put on in spring will have picked up grit. Check the cold-weather balance test, since stiff springs behave differently below freezing. Look at the door’s panel condition, because temperature swings push on the structure of the door, and a door that’s spent the summer in the sun may have warped a seam or two.
- Winter (monthly, quick): the safety tests, plus one look at the weather seals. Cold air leaking under the door is the first sign a seal is done. Watch the door for the first real cold snap; it’s the season a marginal spring finally quits.
Beyond the seasonal rhythm, there’s event-driven checking. After any storm with wind and debris, walk the side of the door and look for dings, and check that nothing’s stuck in the track. After a hard summer, check the panels for warping; Clopay and Amarr steel panels take heat well, but the joints between the sections are where you’ll see the movement first. If you’ve just moved into a new Brick Township home, run the full checklist before you trust the door, and don’t assume a fresh coat of paint on the panels means the internals are sound. The condition of hinges, rollers, and springs is what tells you whether the door has been maintained. That’s a reasonable first-week job for a new homeowner, and it usually turns up one or two things worth fixing before they turn into a call.
Which Checklist Items Are DIY-Safe and Which Aren’t
The last item on this checklist is knowing your own limit. Here’s the split, with the reason for each line.
Genuinely DIY-safe:
- Lubricating hinges, rollers, and springs (with the correct product and sparing amount, as above). Nothing here is under stored force you could release by mistake.
- Cleaning the track with a rag.
- Running the two safety tests.
- Cleaning the photo-eye lenses and checking for an obstructed beam.
- Visually inspecting cables and looking for rust or fraying (inspect, don’t adjust).
- Replacing a worn bottom weather seal on many door styles; the job is fiddly but the parts aren’t spring-loaded.
Requires a technician:
- Any spring adjustment, removal, or replacement. That’s the safety issue, and it’s the reason to call. A torsion spring under tension is dangerous, and the tools that control it are professional equipment.
- Cable replacement or any adjustment to the drum. The cable carries the door’s full weight, and a cable under load is a hazard.
- Replacing rollers or hinges while the door is on its springs. The door has to be de-tensioned first, which is the same spring call.
- Opener adjustment or repair past the owner’s manual. The opener’s force setting is a safety device. Setting it wrong is how a door fails the 2×4 test. Brand matters here too: a Genie opener and a LiftMaster opener are different machines with different settings. garage door opener repair is a job for someone who knows the platform, and when the opener is past its life, a new one is part of the same conversation.
- A door hanging visibly crooked or off its track. That’s the point where the door is unstable, and the right move is to stop using it.
The reason behind the split is stored energy. The bottom half of the door’s mechanism (hinges, rollers, seals, the track surface) isn’t under the kind of spring load that can hurt you. The top half is. That’s also why garage door repair for a door that’s stuck or off-track starts with the springs, not the panel. If you’ve done the safe half of this checklist and the door still feels wrong, the next step is a call.
Common Mistakes to Avoid
- Spraying a general-purpose solvent or penetrating oil on the springs and hinges. It dissolves the grease that belongs there and leaves the part dry. Use a grease or a dedicated garage door product.
- Greasing the track. Grit sticks to grease. A greased track gets sticky, then noisy. Clean it; don’t lubricate it.
- Reading a tired spring as a tired door. A door that’s hard to lift wants new springs. A homeowner who reads it as a door problem may end up buying a replacement door that didn’t need to exist. Same door, fixed right, is usually the answer.
- Adjusting the opener’s force setting high because the door feels heavy. That masks the failing springs and disables the safety reverse at the same time. The force setting is a safety device, not a workaround.
- Assuming the door is fine because it moves. A door can run for months on one frayed cable and a tired spring right up to the day it fails. The tests above catch what the eye misses.
- Skipping the photo-eye test because the door closes. A door that closes is a door that’s running. A door that reverses is a door that’s safe. Those are different things.
- Waiting for a spring break to schedule spring work. Spring failure is a safety issue, and the checklist tells you about it before it happens. Catching fatigue early means less damage to the door when it does go.
See the difference
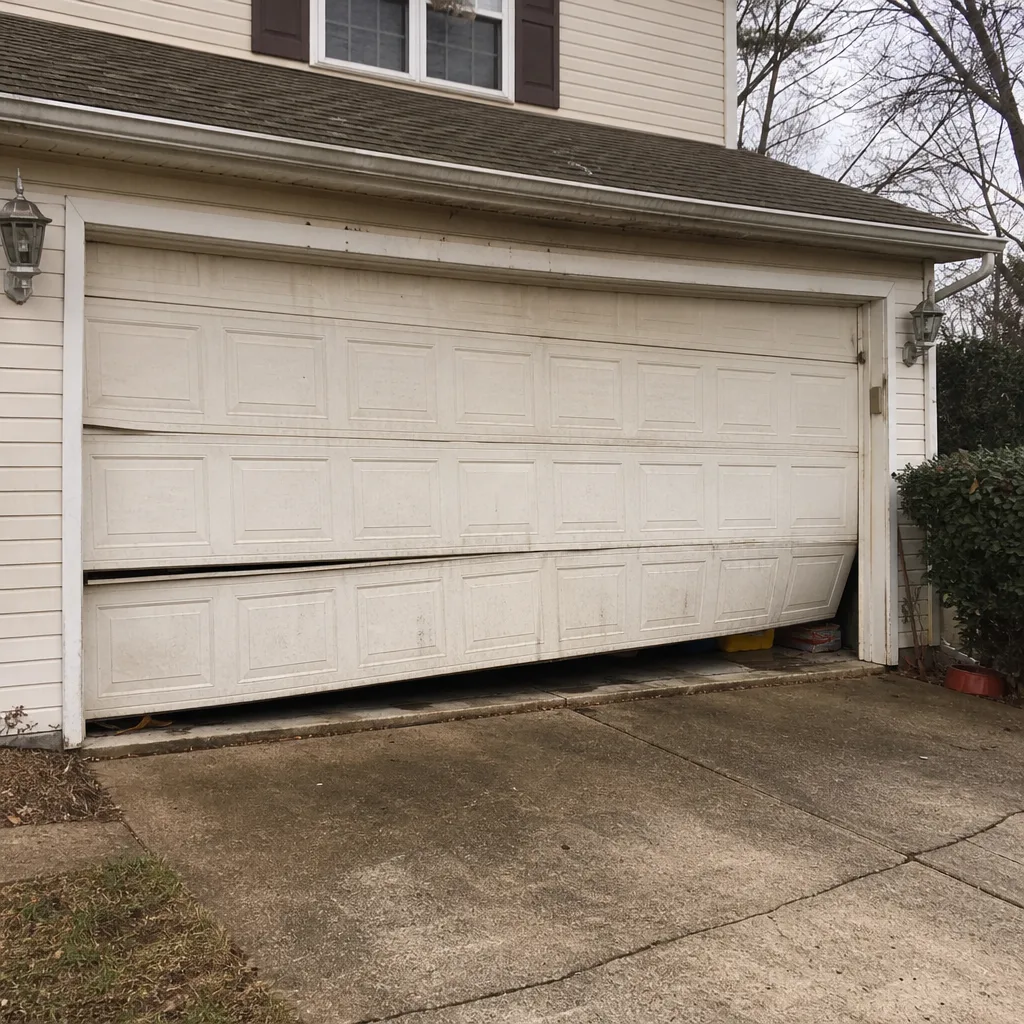 Before
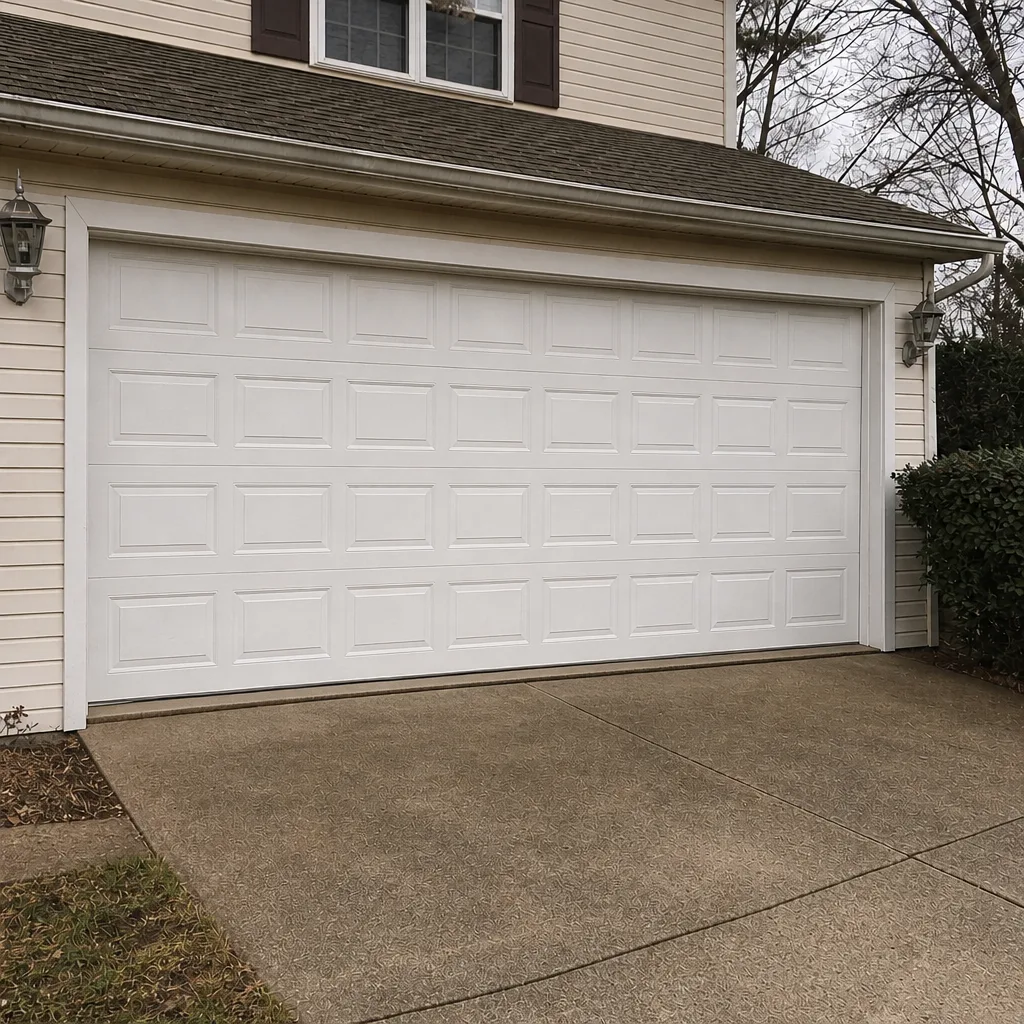 After
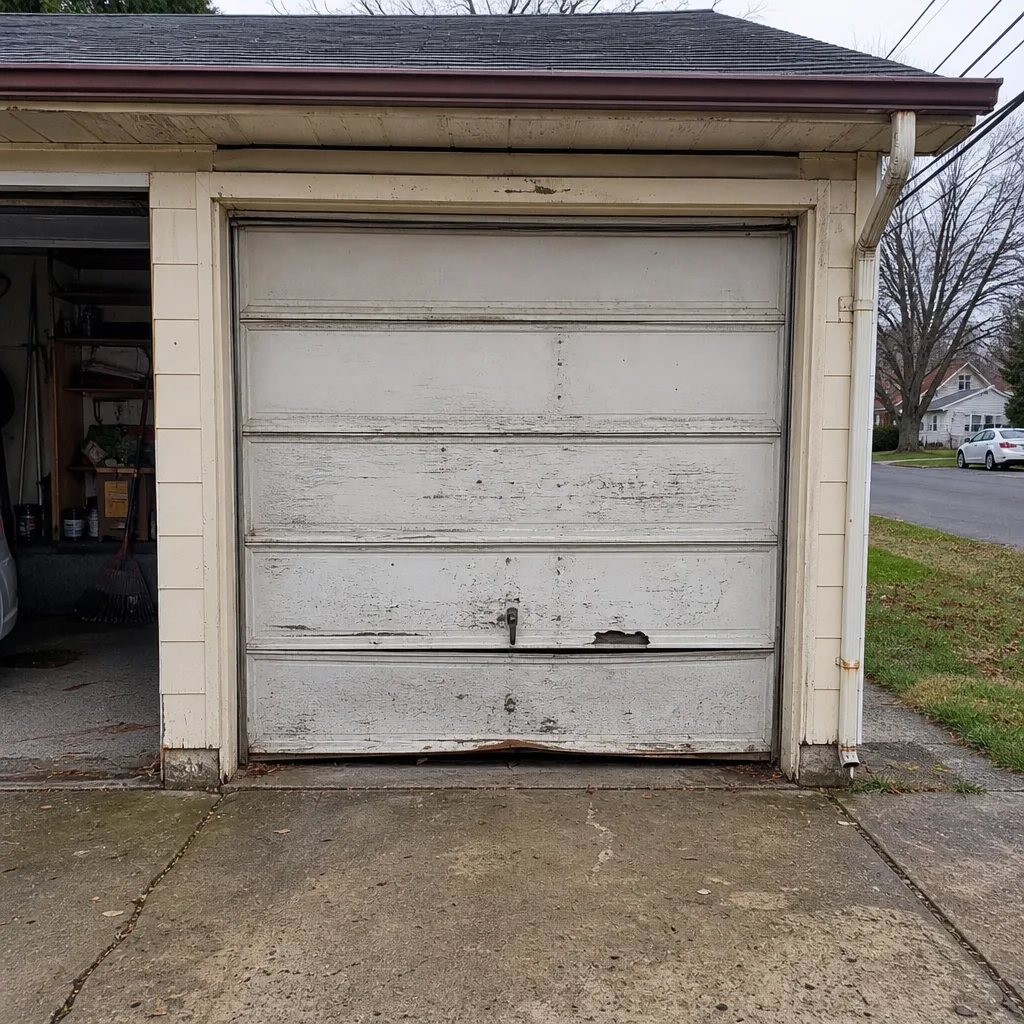 Before
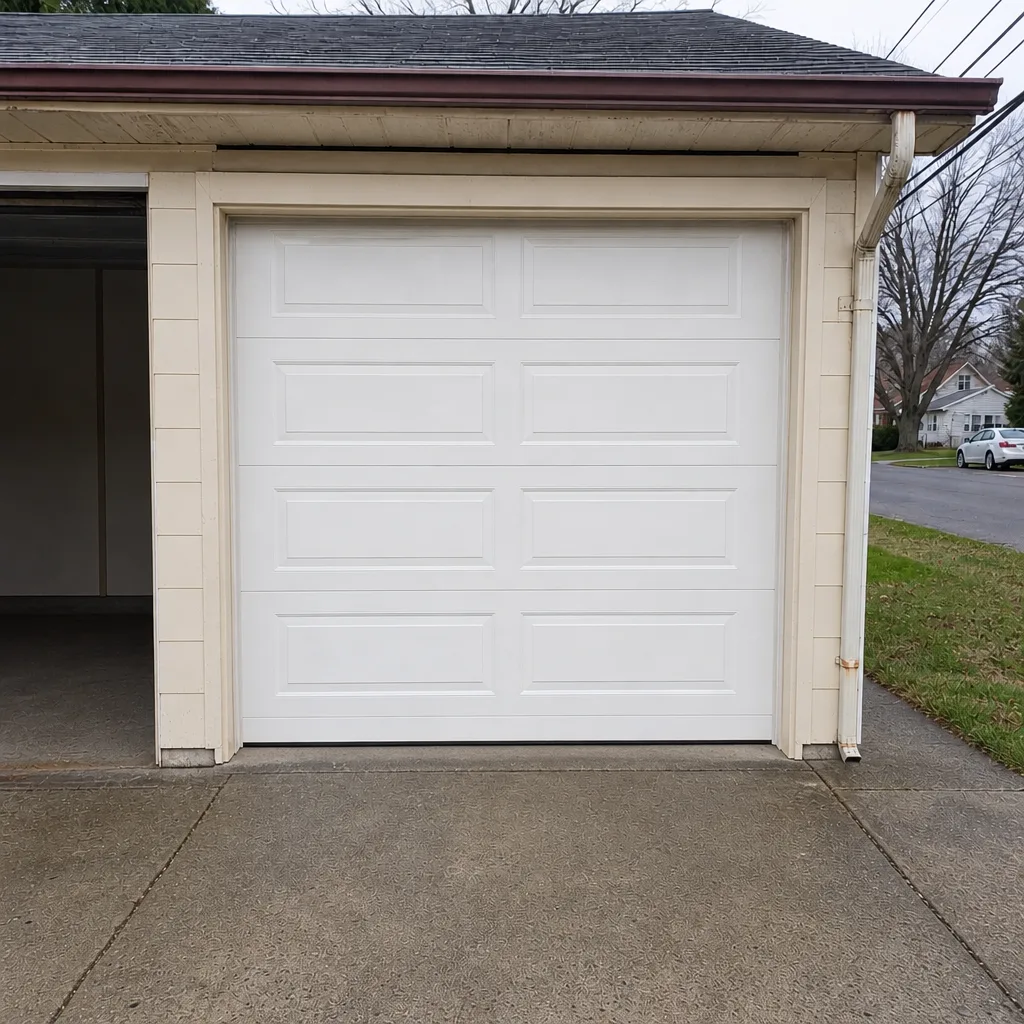 After
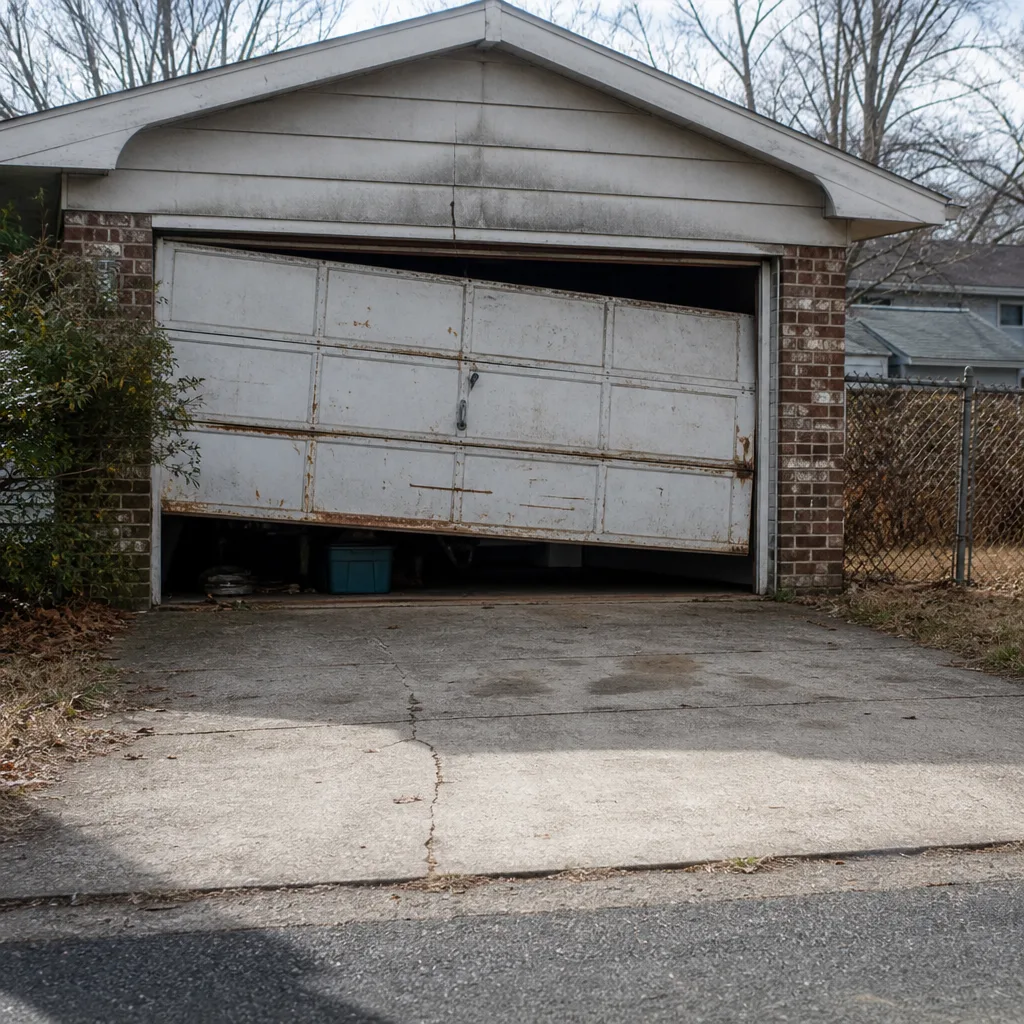 Before
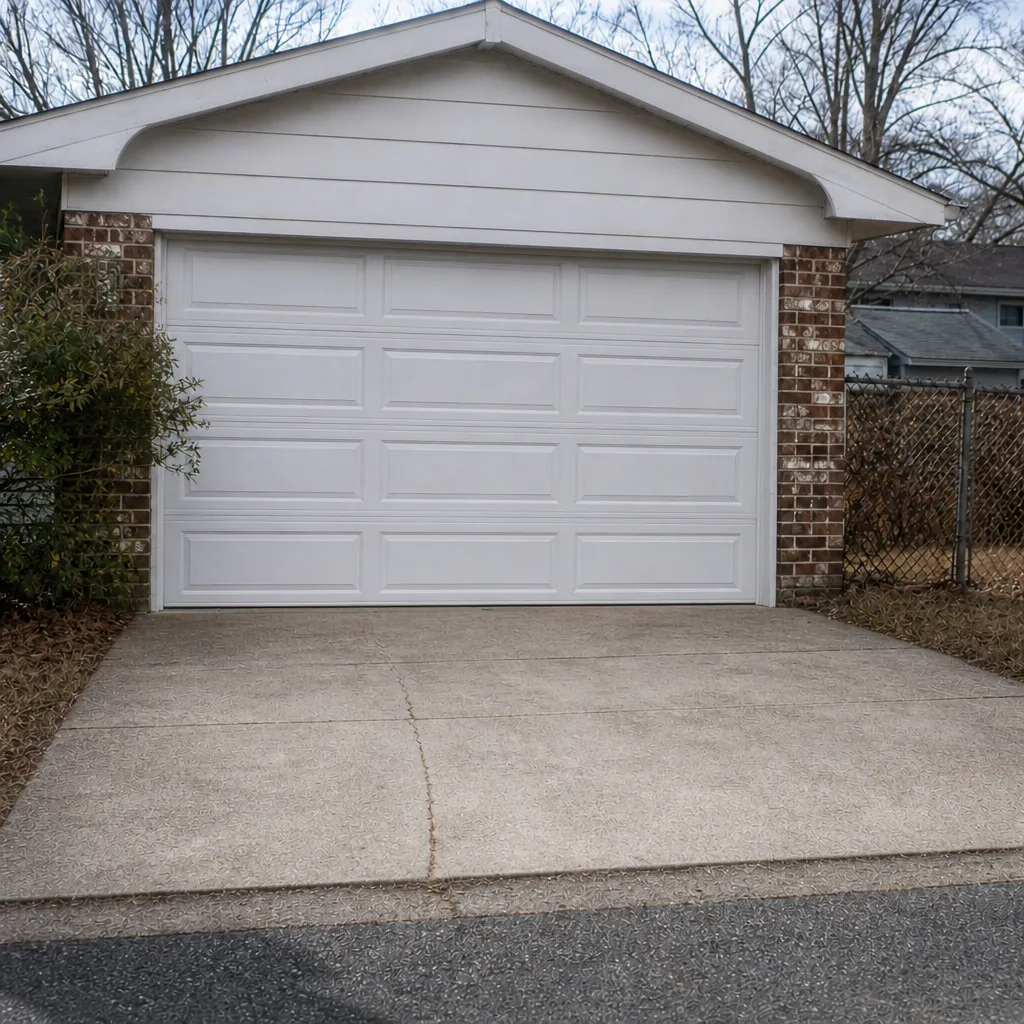 After
When to Call a Professional
Call when the door fails the effort test, when you see fraying, kinks, or slack in a cable, or when the door hangs crooked or comes off the track. Call when the force or photo-eye test fails and cleaning doesn’t fix it. Call for anything that touches the spring assembly, the cable drum, or the opener’s internal settings, and call when the door is visibly damaged at the bottom bracket. Those are the points where the next move matters for safety. Garage Door Repair Brick offers free estimates in Brick Township, and we work on your brand, from Genie openers to Wayne Dalton panels, so the answer isn’t a sales pitch for a new door. We answer 24/7. Fast dispatch from 7am to 7pm, Sunday through Friday. Garage Door Repair Brick is the place to start, and our technicians have up to 12 years of experience on these systems.
Frequently Asked Questions
Twice a year for the full lubrication and inspection pass, monthly for the two safety tests. The twice-yearly rhythm should fall at the start of the warm season and before the first cold snap, because temperature shifts in Brick Township stress different parts on either side. If your door cycles heavily, add a third lubrication pass in mid-summer. Call (888) 569-3530 for an exact quote on an annual once-over, and the estimate is free.
Yes, applying a light coat of spring grease or a dedicated garage door lubricant to the coils is safe. What’s not safe is adjusting, winding, or removing a spring. The coil is under stored tension, and releasing that energy without the right tools can cause serious injury. Lubricate the surface, test for fatigue as described above, and let a technician handle anything that needs the spring itself to move.
It means something is breaking the closing sequence early, and the usual suspects are the photo-eye beam, the force setting, or stale travel limits on the opener. Clean the lenses first and look for an obstruction in the beam path. If that doesn’t solve it, the door should stay off. We can diagnose the opener platform, whether it’s a LiftMaster or a Genie, and set the safety reverse correctly. Call (888) 569-3530 for a free estimate.
Repair most of the time. A dented panel, a noisy roller, or a sticking hinge is a repair, and problems with the opener are usually a component failure, not a door failure. A replacement is worth talking about when the panel structure is badly damaged or the door is well past its service life. Our position is the same door, fixed right. Start with repair and have the conversation only once the damage makes it necessary. Call (888) 569-3530 and we’ll quote you on the repair before any work starts.
We work on the major residential systems: LiftMaster, Chamberlain, Genie, Clopay, Amarr, Wayne Dalton, Craftsman, and Raynor. That matters to your checklist in two ways. First, the tuning procedure for a Genie opener is not the same as a LiftMaster, so a general tune-up on a different platform can miss the setting you actually need adjusted. Second, panel and hardware parts are specific to the brand, so we work with the actual components of your system rather than a generic workaround.
Often, yes. We handle emergency calls as part of what we do, not as an upsell, and we can usually get to a stuck door in Brick Township the same day you call. Price is set per job by the written estimate, and we quote and agree the price before any work starts, so you’re not guessing. Call (888) 569-3530. We answer 24/7. Fast dispatch from 7am to 7pm, Sunday through Friday. A call outside dispatch hours is booked into the next opening.
The Bottom Line
A good maintenance checklist gives you a number, not an adjective. Lubricate twice a year with the right product, grease the bearing and not the track, pull the 2×4 test monthly, and do the spring fatigue test every season change. The parts that fail with real consequences (springs and cables) get tested and inspected, never adjusted by you. The parts that fail with drafts and noise (seals, rollers, hinges) get replaced when they show measurable wear. Do the bottom half yourself, and call us for the top half. That split is the difference between a door that lasts and a door that quits on the worst morning. When the comparison gets close, garage door opener repair and the spring call on the other side of this are equally welcome. Call (888) 569-3530 for a free estimate, and we’ll give you the written price before any work starts. Same door, fixed right.
Written by the team at Garage Door Repair Brick.